Testing gatsby blog with cypress.io
import BlogPostImage from “~components/BlogPostImage.astro”;
In this blog post, I will write about configuring Cypress.io to work with Gatsby.js based blog.
Let’s start by installing required packages from npm (I assume that you have already installed gatsby):
npm install --save-dev cypress start-server-and-test
also make sure to add the following scripts to package.json:
{
  "scripts": {
    "dev": "gatsby develop", // or other script to run your development server
    "cypress:open": "cypress open",
    "cypress:run": "cypress run",
    "test:e2e:ci": "start-server-and-test dev http://localhost:8000 cypress:run"
  }
}
After that, you need to tell cypress your gatsby.js site baseUrl by specifying it inside cypress.json in
the root of your project:
{
  "baseUrl": "http://localhost:8000"
}
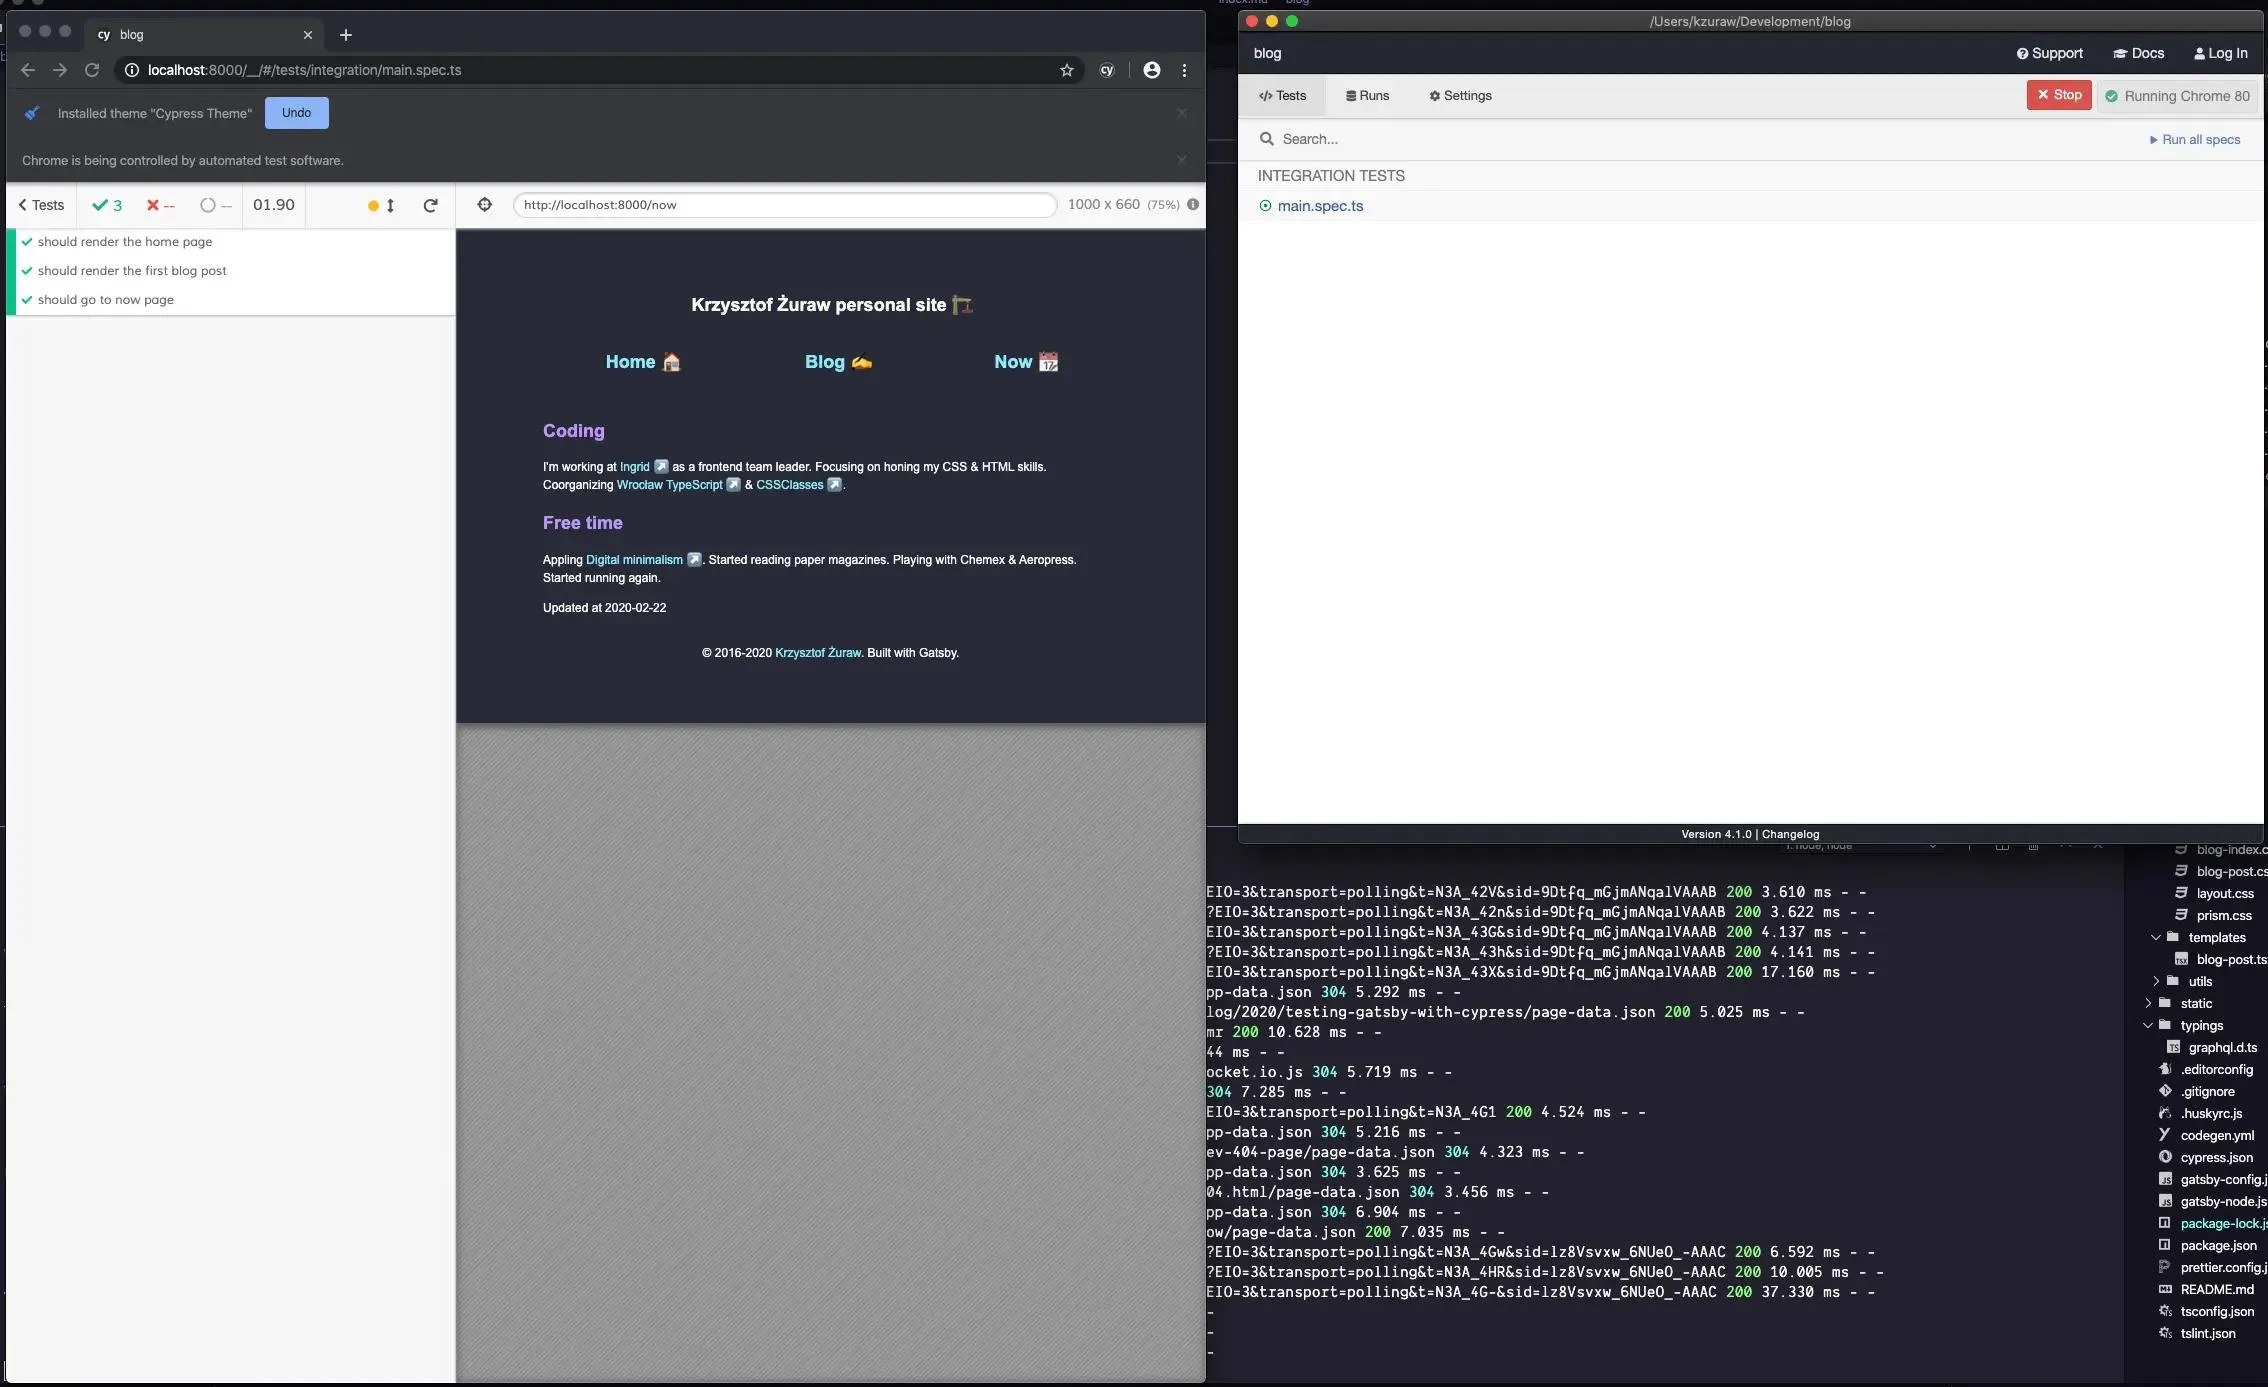
If you then run npm run cypress:open and wait a little bit when cypress is verifying itself
(if you are on OSX) after a while, you should see a cypress dashboard with a welcoming message.
You can close it.

When you look into your files you may see that there is a new folder called cypress created. This
is the place where you gonna store your e2e tests.
For now, I recommend keeping cypress/integration/main.spec.ts/js.
Inside this file you can start writing your first test:
it("should render the home page", () => {
  cy.visit("/");
  cy.contains("YOUR PAGE CONTENT"); // change it to your content
});
If you want to add typescript support create cypress/tsconfig.json:
{
  "compilerOptions": {
    "strict": true,
    "baseUrl": "../node_modules",
    "target": "es5",
    "lib": ["es5", "dom"],
    "types": ["cypress"]
  },
  "include": ["**/*.ts"]
}
You are now ready to run your first test 🎉. You can start by running npm run dev and when gatsby
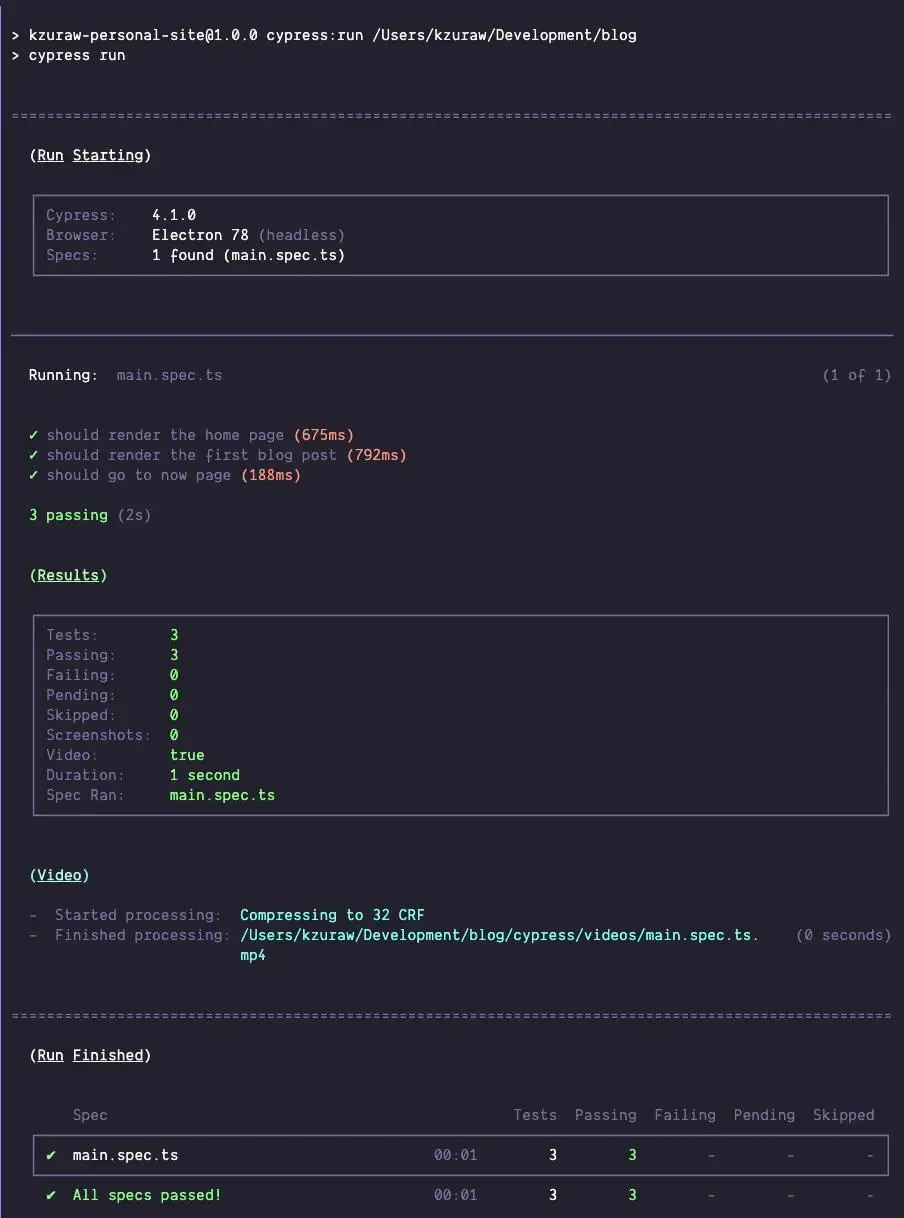
development server is on, switch to the other terminal tab and execute npm run cypress:run.
Your tests should start - if they fail you can see screenshots & videos inside: cypress/videos
and cypress/screenshots. I recommend adding those paths to gitignore.

You may spot test:e2e:ci inside package.json scripts. It is used to run cypres on my PRs using
github actions:
jobs:
  steps:
    - uses: actions/checkout@v1
    - name: Use Node.js ${{ matrix.node-version }}
      uses: actions/setup-node@v1
      with:
        node-version: ${{ matrix.node-version }}

    - run: npm ci
    - run: npm run lint
    - run: npm run tsc
    - run: npm run test:e2e:ci
      env:
        CI: true
There is also already made github-action. To use it
you have to add following entry in your workflow file (under jobs section):
cypress-run:
  runs-on: ubuntu-16.04
  steps:
    - uses: actions/checkout@v1
    - uses: cypress-io/github-action@v1
      with:
        start: npm run dev
        wait-on: "http://localhost:8000"
        browser: chrome
        headless: true
A full example of config is here.
That’s all. I don’t have many e2e tests - I’m using them as a way to check if dependency updates made by Dependabot not only pass TypeScript compilator but if they do not break rendering of my blog.
Summary
In this blog post, I presented a way to use Cypress.io to test Gatsby.js blog. You can find how it works in action inside my blog repository.
Update 2020-03-11
- Thanks to Gleb Bahmutov suggestion I added new screenshots & cypress github action